Click the Layer Editor icon from the toolbar to launch the Layer Editor. Use the Layer Editor to edit the appearance, patterns, visibility of layers at various zoom levels.
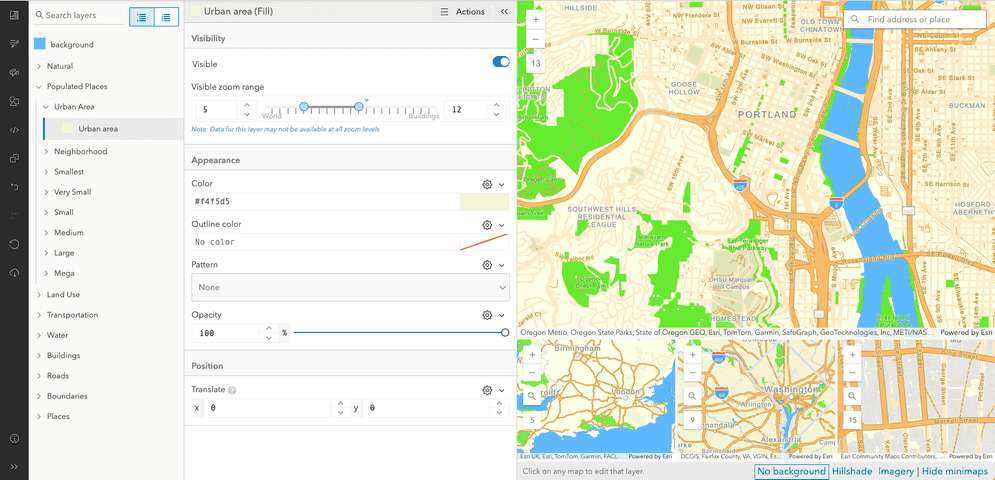
Using the Layer Editor
Note: Not all interfaces are available for every vector tile layer style. Different layer styles have different JSON properties, see editing JSON for more details.
| Interface | Image | Description |
|---|---|---|
| Layer info and visibility |  | The visibility and zoom level for the selected layer. To change the visibility of a layer click and drag the Visible Zoom Range widget. |
| Layer appearance for different zoom levels |  | Change the color of a layer style at different zoom level cut-off points. Click Add stop to add a new color cut-off point. |
| Layer outline color |  | Outline color of the selected layer. |
| Layer patterns |  | Toggle patterns for the layer: 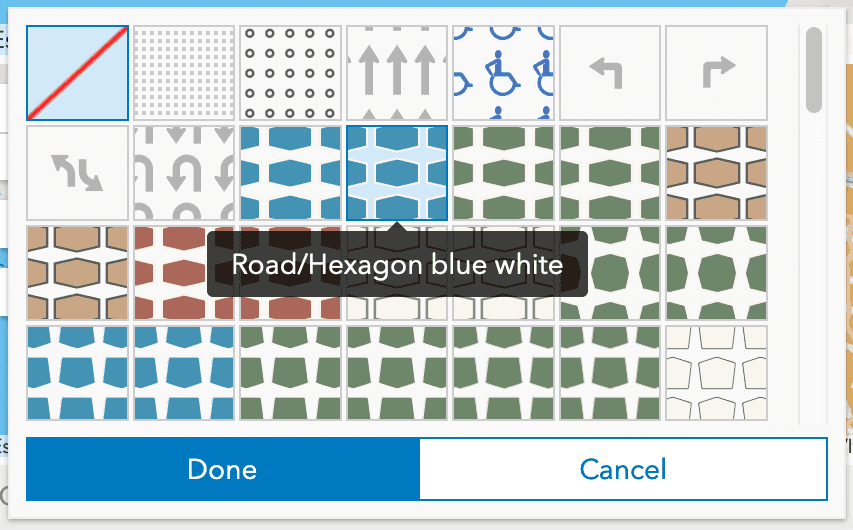
|
| Layer opacity |  | Change the opacity of the selected layer. |
| Layer position |  | Change the pixel offset of labels for the selected layer. |
| Icon Appearance |  | Choose a icon for the layer style: |
| Icon Position |  | Customize icon positioning with these options:
|
| Text Halo Properties |  | Choose the halo color, width, and blur for layer style labels. |
| Symbol Position |  | Place the label and symbol at the center point of the layer (e.g. the middle of a polygon), or, if Line is chosen, a line parallel to the center line placing an icon at the interval determined by Spacing:
|
| Text Layout | 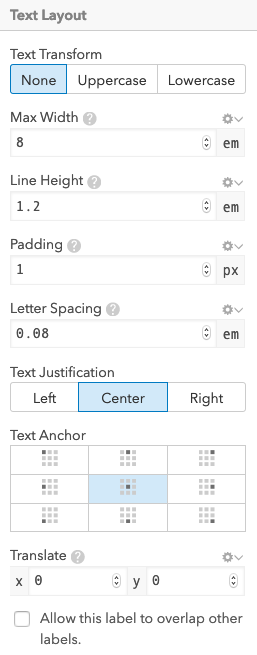 | This interface presents basemap authors with a number of options to customize label text for a vector style layer:
|